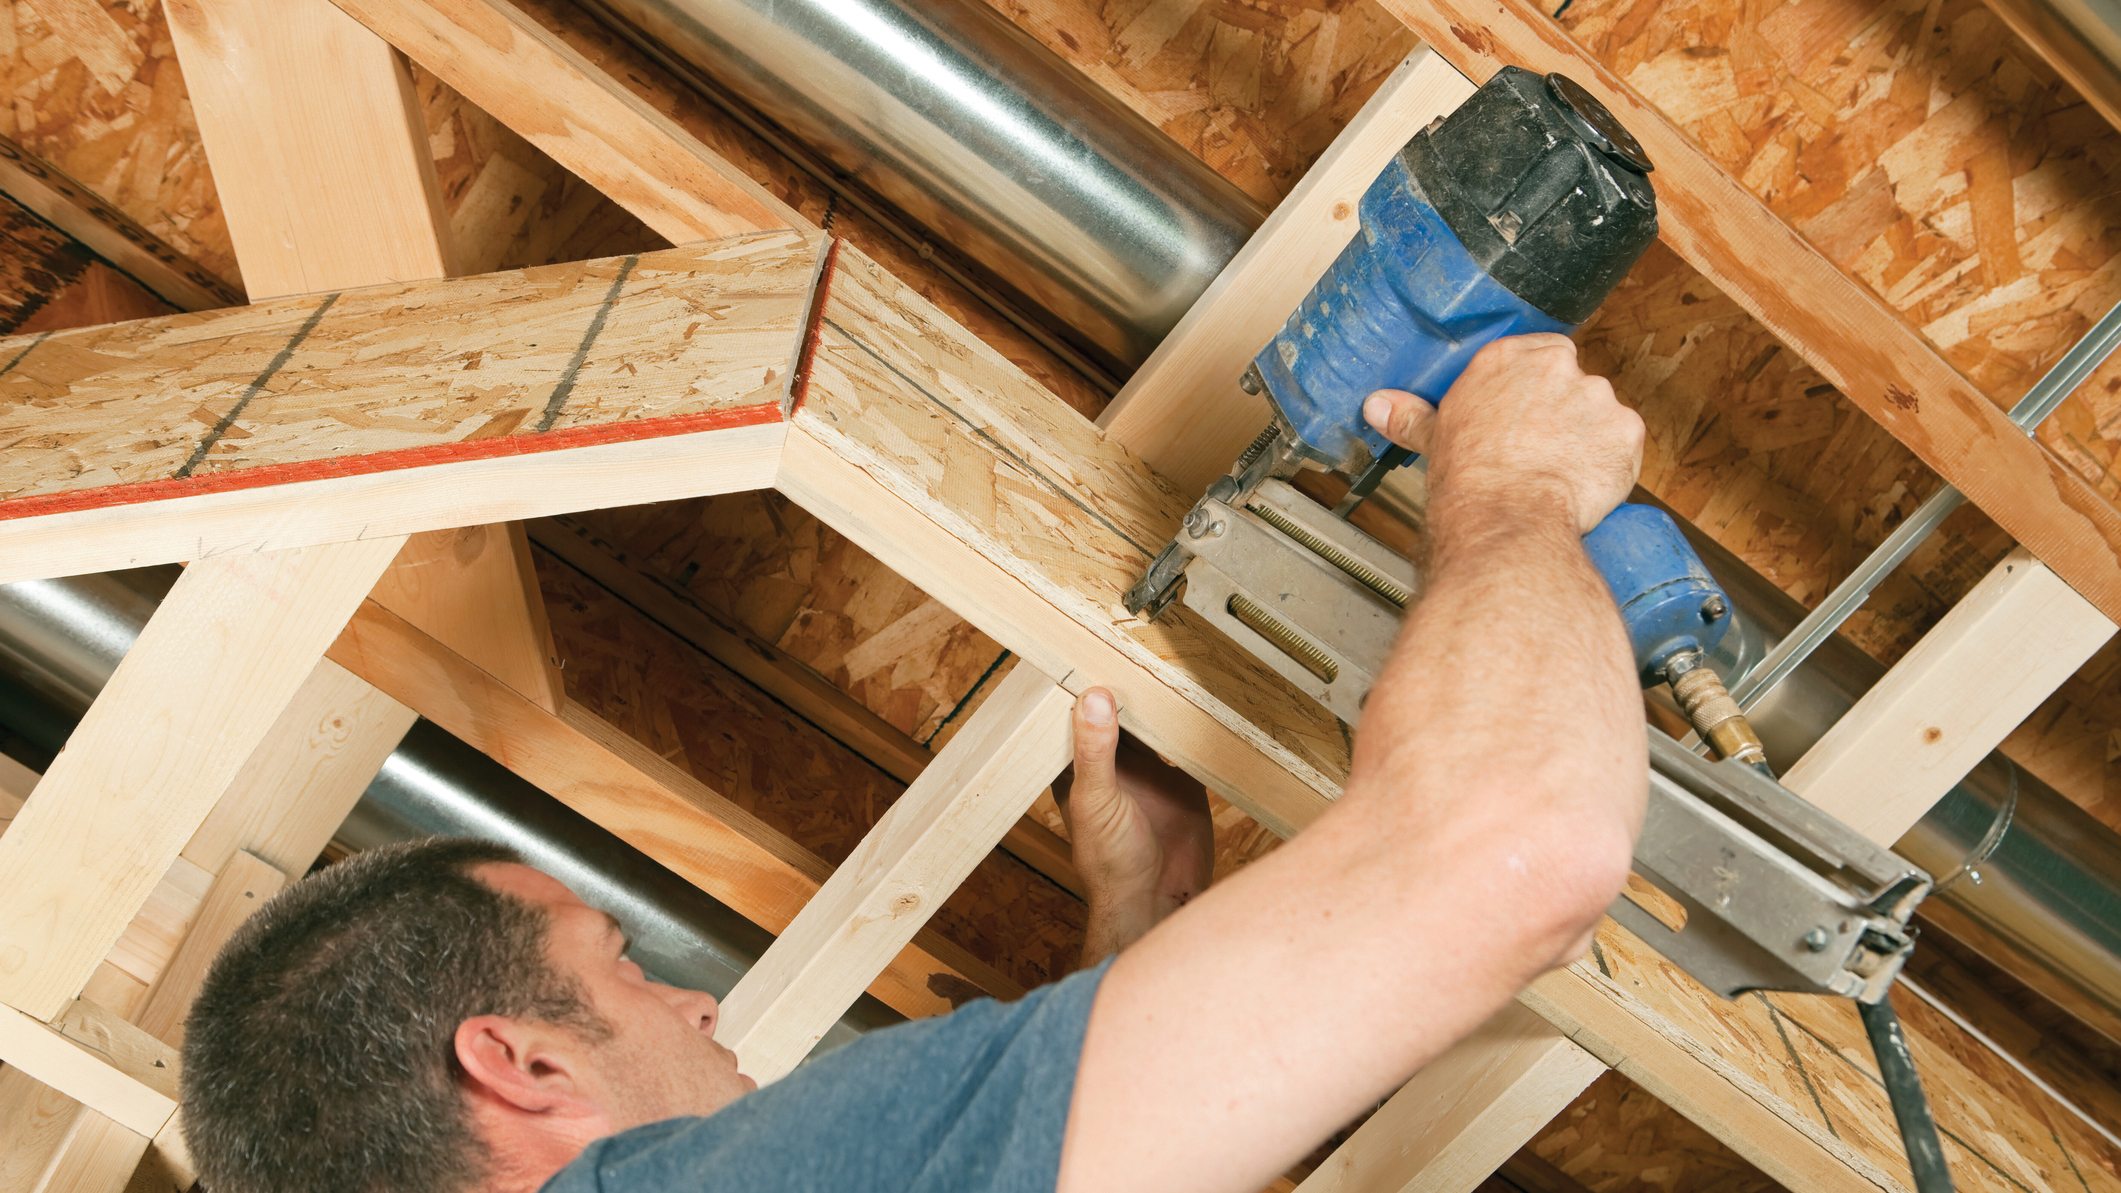
The basement has become an extension of a home’s living space, offering the opportunity for additional bedrooms, bathrooms, and media rooms. It’s one space in your house that’s functional, fun—and when finished, adds significant value to your home. Whether you’re undertaking a total remodel or just sprucing things up, here are four steps to ensure your basement renovation runs smoothly.
STEP 1: PLAN IT
Before you begin breaking up concrete and putting up drywall, sit down with pen and paper (or some design software) to sketch out how you can best use the space.
Mark the positions of: water heaters, plumbing, sump pumps, drainage, sewage pipes and other features that can’t be moved.
Measure vertically: Beams or ductwork can alter the height of the ceiling in certain spots, restricting elements like door or lighting placement.
Map out furniture size and placement: Consider if you can physically get the furniture down into the basement—queen beds are notorious for not clearing low ceiling heights down stairs.
Create a separate lighting plan: Detail where fixtures and switches will go. (You’ll need this information to get an electrical permit.)
Consider potential water damage: Examine your foundation to check for cracks. Check your yard to ensure it slopes away from the house so water won’t drain into your basement. If you plan to add windows or exterior doors, be sure to add drainage to your to-do list.

STEP 2: MAKE IT LEGAL
Doing a DIY basement renovation? There are permits and other legal considerations to take into account. Here are six tips to ensure your renos are legit.
1 If it’s a non-structural reno, like laying a new floor, you don’t need a building permit. But if you’re moving a telepost, building a wall with electrical, adding an egress window or converting the space to a rental suite, you will need a building permit.
2 If you’re doing your own renovation, apply for electrical and plumbing permits from your municipal planning and development branch before you begin work. If working with a general contractor who uses electrical and plumbing contractors, they will get the permits for the job.
MORE TO READ
What you need to know about insuring your home in Alberta
3 For an electrical permit, you may be required to provide a wiring diagram indicating the location of receptacles, lights, switches and all other equipment to be installed. Plumbing permits may also require a diagram that shows the location fixtures, as well as drain and vent pipe sizes.
4 All electrical and plumbing work must be inspected prior to covering with insulation or wallboard.
5 Final inspections don’t just focus on electrical and plumbing. An “all trades inspection” looks to make sure ventilation is up to code, insulation levels are correct, and minimum ceiling heights are being met.
6 Inspectors do hundreds of inspections each month. Respect their time: Clean up before they arrive and make sure it’s easy for them to walk around. If they can’t complete the work, you could be charged for additional visits.

STEP 3: SEAL THE DEAL
Water damage can dampen any work you’ve done. Before your start, get ahead of the problem with some simple solutions. Juan E. Rojas, owner of Abalon Foundation Repairs in Calgary, offers some advice for getting your feet wet in waterproofing.
What causes water issues in basements?
Under regular to heavy rain conditions, water damage can occur due to cracks in the foundation. If there’s a space for it to seep through, nothing is going to stop water from coming in. Grading, sloping and down spouts will help, but if there’s a crack on a wall, it will come in no matter what.
What are the signs of water problems?
Look for moisture, sulphate residue and efflorescence (a white coating) on walls, as well as wet floors. If there are below-grade windows or vents, look to make sure there’s drainage, like weeping tile. If new windows have been cut, check that they have proper drainage too. When a contractor builds a bedroom in a basement, they usually make the window bigger, to properly fit an egress window. But they sometimes forget about drainage.
MORE TO READ
Learn these 10 important things about home insurance
How can homeowners prevent water damage?
The best, most comprehensive solution would be to excavate outside, repair the foundation and install drainage (weeping tile).
Are there any quicker fixes?
If you see a small crack on a wall, apply caulking and build up the soil around the area. Make sure down spouts discharge water at least one to two metres away from the foundation. If you have a negative slope against the house, build it up. And a sump pump can be your best friend: It collects the water coming in from the outside.

STEP 4: PROTECT YOUR RENO
Communicating with your insurance advisor is always a good idea before, during and after any type of home renovation. “Together, you can review your coverage to ensure you’re protected,” says Karen McDougall, insurance agency manager at AMA Insurance in Calgary. Follow her advice to reno the right way.
Before…
• Talk to your insurance advisor to see if there is anything your provider requires prior to starting a project. Complete details of a renovation will help determine insurance needs that will be required for the work.
Check out your contractor. Poor workmanship is not covered under a home insurance policy, so you need to make sure the contractors you choose will do quality work. Contractors should have their own insurance, but it’s up to the homeowner to request proof of insurance to ensure they’re covered in the event of a loss while working on your home.
• If you’re doing a DIY reno, you should also check that you have disability insurance in place in case you get injured “on the job.”
During…
• Your insurance needs and coverage could change over the course of your renovation. If you adjust your reno plans while work is in progress, always consult your insurance advisor.
• Building materials: Are they covered in your current policy? Ask your insurance advisor.
After…
• Reevaluate your policy with your insurance advisor. Find out what you are—and are not—covered for.
• Consider water damage. Coverage can differ depending on your provider and the specifics of your home, so it’s a good idea to check with your advisor to find out what coverage you need and what you qualify for. Be sure to discuss options for covering these types of water damage:
Overland: Damage caused by water that enters into your home through windows and doors (as opposed to through the foundation).
Water back-up: Water flows into your home from your municipal sewer system, private septic system or through sump pump failure. It can occur during periods of heavy rainfall, when sewers can’t handle excess water.
• Your required coverage could change, depending on the extent of the renovation. Increased square footage, additional bathrooms or updated finishes might impact the rebuilding cost of your home. Consult your insurance advisor.
To contact an AMA Insurance advisor, call 1-800-615-5897 or visit AMAInsurance.ca/Home
HOW TO SAVE
Check out these AMARewards partners for savings toward your successful basement renovation.
F2 Furnishings: Save 15% on regular-price merchandise; free design consultation ($500 value)
Cloverdale Paint: Save 25% on paint and 10% on accessories.
Polar Windows: Save 32% on windows and doors
Reliance Home Comfort & Reliance The Furnace Company: Save 15% on air conditioner, furnace and system rentals or purchases.
Tile Town: Save 10% on in-stock tile
1-800-GOT-JUNK: Save 15% on junk removal services
CertaPro Painters: Save 15% (from February 1–28)
