As professional-grade cameras continue to become more affordable—and more portable—it’s easier than ever to spend your vacation just shooting away. But it’s one thing to share a bunch of snapshots on Facebook; taking photos worth hanging on your wall requires a little more skill and consideration. Get to know your gear and its capabilities, and use these techniques from Canmore-based photographer and educator Matt Scobel to take your travel photos to the next level.
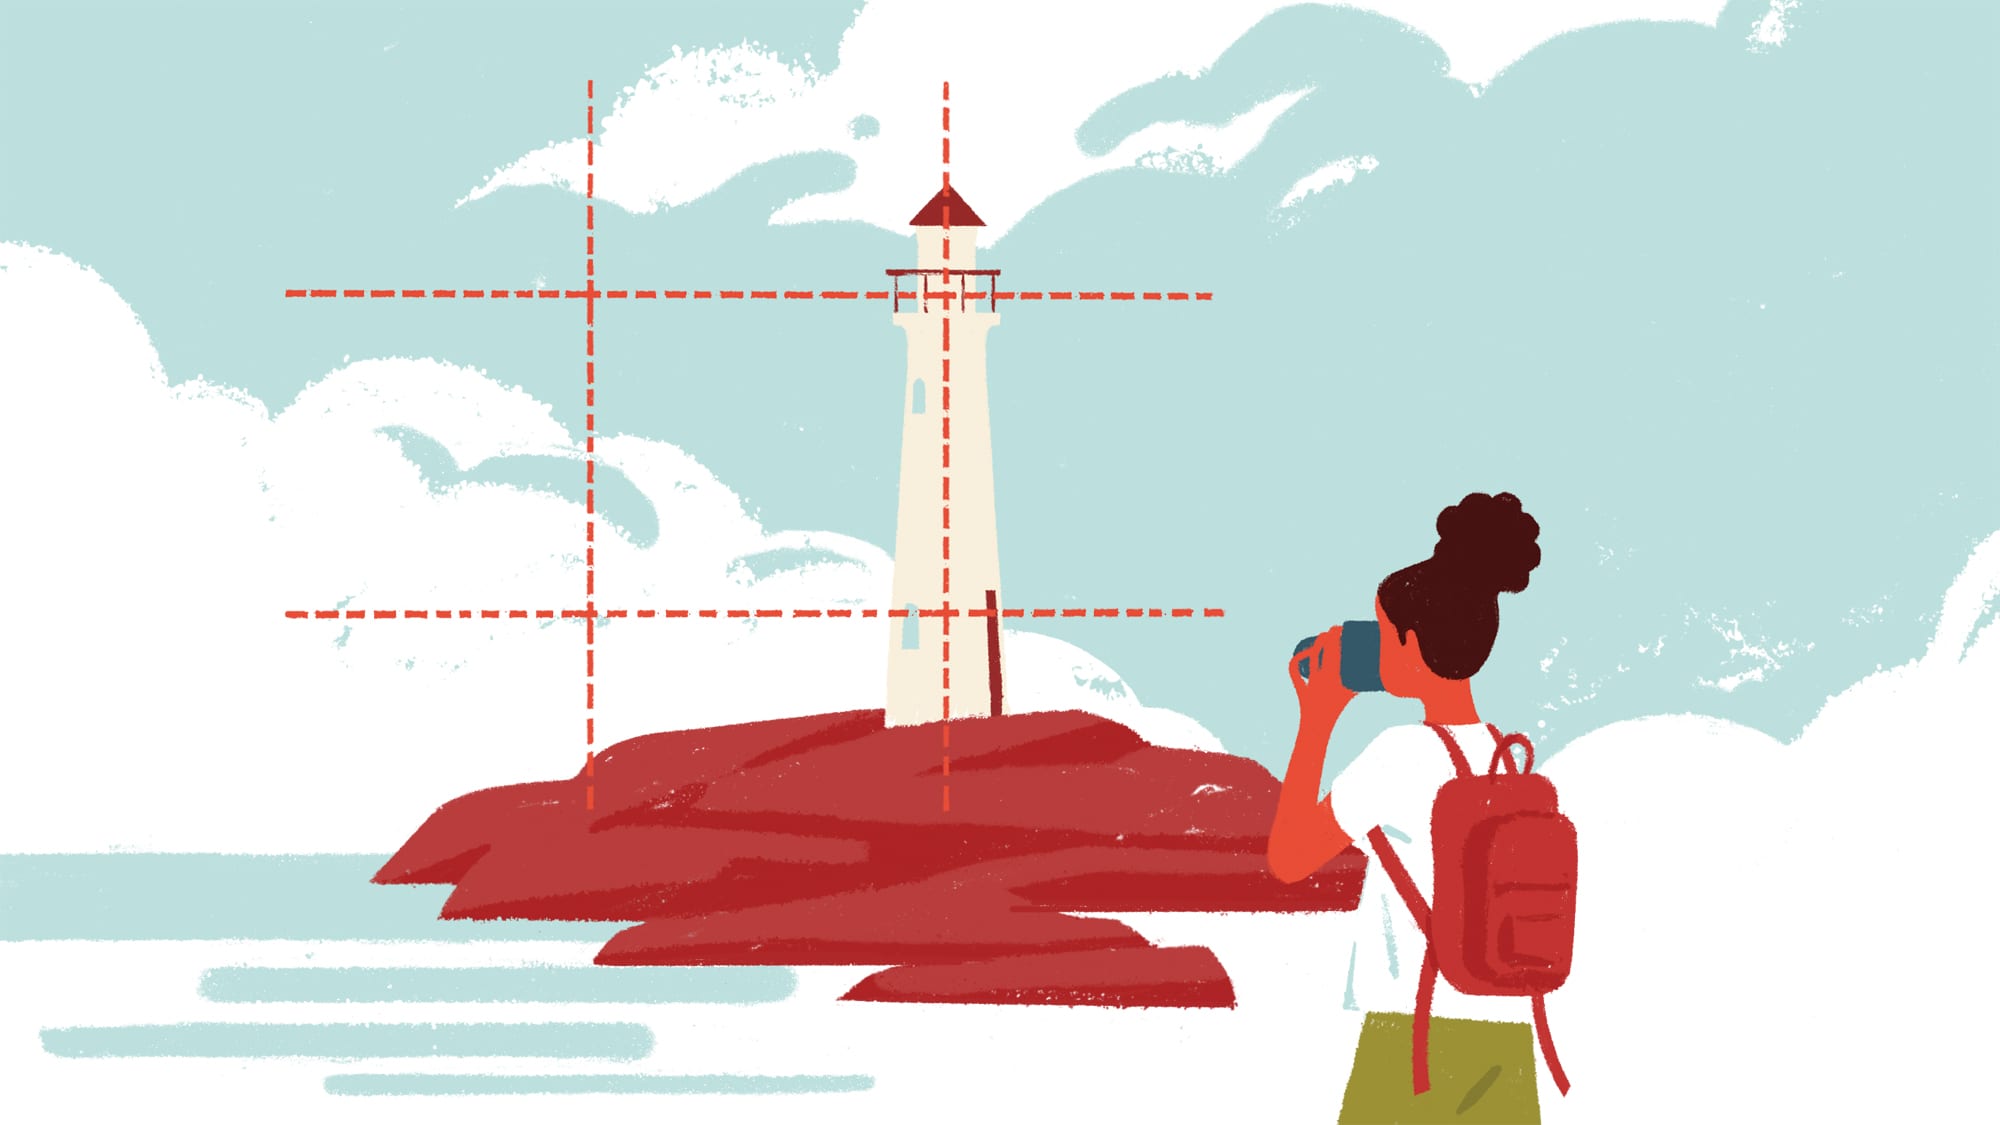
FOLLOW THE RULE OF THIRDS
Imagine your frame divided into thirds horizontally and vertically. Our eyes are drawn to the parts of the frame where the dividing lines intersect. Try placing your subject at these intersections for a more immediate visual impact.
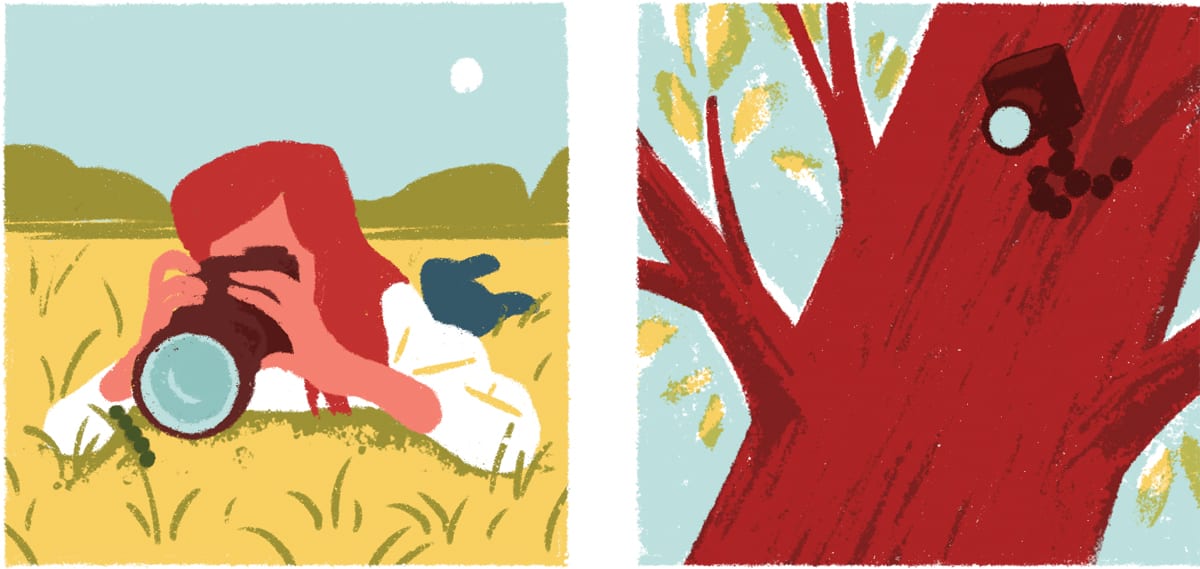
UP CLOSE OR FAR OUT?
Always ask: What’s the most interesting part of what I’m looking at? Maybe it’s a unique flower, part of a building or just your travelling companion. If that subject is truly the star, then go in close (or use a telephoto lens) and get all the fine details. But if what’s interesting is the scene itself, shoot at a wide angle—to show how that flower is the only white bloom in a field of red.
PLAY THE ANGLES
Go low or high; position yourself to capture a different perspective than what everyone else can see. Consider carrying a small, flexible tripod so you can set your camera right on the ground, or affix it to a signpost or tree branch to get higher.
MORE TO READ
How to pack a carry-on for a week-long vacation
GET THE RIGHT LIGHT
The best time for taking photos outdoors is within an hour before sunset and an hour after sunrise—the so-called “golden hours” of soft light and long shadows. On the other hand, it’s difficult to get good shots in the harsh midday sun.
CREATE CONTRASTS
The difference between a basic snapshot and a really nice photo is how you isolate your subject. Here are three ways to do it.
Depth of field: For close-ups, set your camera’s aperture to a low f-stop number—to focus squarely on your subject while blurring the background.
Light and shadows: If you’re in a forest, for example, find a spot where the sun is shining through the trees. Place your subject there to highlight them within the darker scene.
MORE TO READ
How to score with sports travel
Colour: Picture a bright yellow jacket on a rainy day. A pop of colour in a drab or starker scene—or a subject in silhouette against a busier background—really draws the eye.

SELFIE SAFETY
It’s fun to pose in your own travel pictures— but not at the risk of injury or worse.
• Always be aware of your surroundings, especially near ledges, cliffs, stairs or bodies of water—or any place with unstable footing.
• In natural areas, try not to stray from marked trails. You may unknowingly harm a delicate habitat, and it’s all too easy to become lost.
• Avoid traffic and moving vehicles like trains. And do not take photos while you are operating a vehicle, be it a car, a bicycle or a boat.
• Close enough for a selfie with a wild animal? That’s too close! Leave them be—for their safety and yours. Never enter enclosures at zoos.
• Be respectful of others who may also want to enjoy your shared view—or who may just be trying to go about their daily lives.
HOW TO SAVE
AMA members save 20% on photo calendars and other digital print services at Staples